Home Maintenance Tips

4 Benefits of Gardening

4 Benefits of Gardening


1 – Relieves Stress

Gardening has been proven to boost mood and lower stress levels. The physical activity element of gardening combined with being in green spaces, gives your brain rest and can help with depression, anxiety and stress.


2 – Improves Your Health

If you’re growing fruits and veggies, you have access to fresh. local produce full of nutrients – just avoid using chemicals like pesticides. Gardening of any kind can also reduce the risk of dementia and heart disease, increase your exposure to vitamin D, and provide a low-impact form of exercise.


3- Helps the Environment

Gardening helps the environment in many ways. Adding plants and trees created more oxygen and can help reduce air pollution. If you use plants native to your area, it can benefit local wildlife and insects, and it can remove the need to fertilize the plants with chemicals or water them. Planting a rain garden allows rainwater runoff to be collected and soaked in the ground, which can help minimize flooding and water pollution.


4- Beautifies Your Home

In addition to boosting your health and helping the environment, gardening can make a big impact for homeowners hoping to put their home on the market. Adding plants and flowers to your front or backyard can add curb appeal and attract buyers.


Spring Time and Your Air Conditioning Maintenance

Spring Time and Your Air Conditioning Maintenance

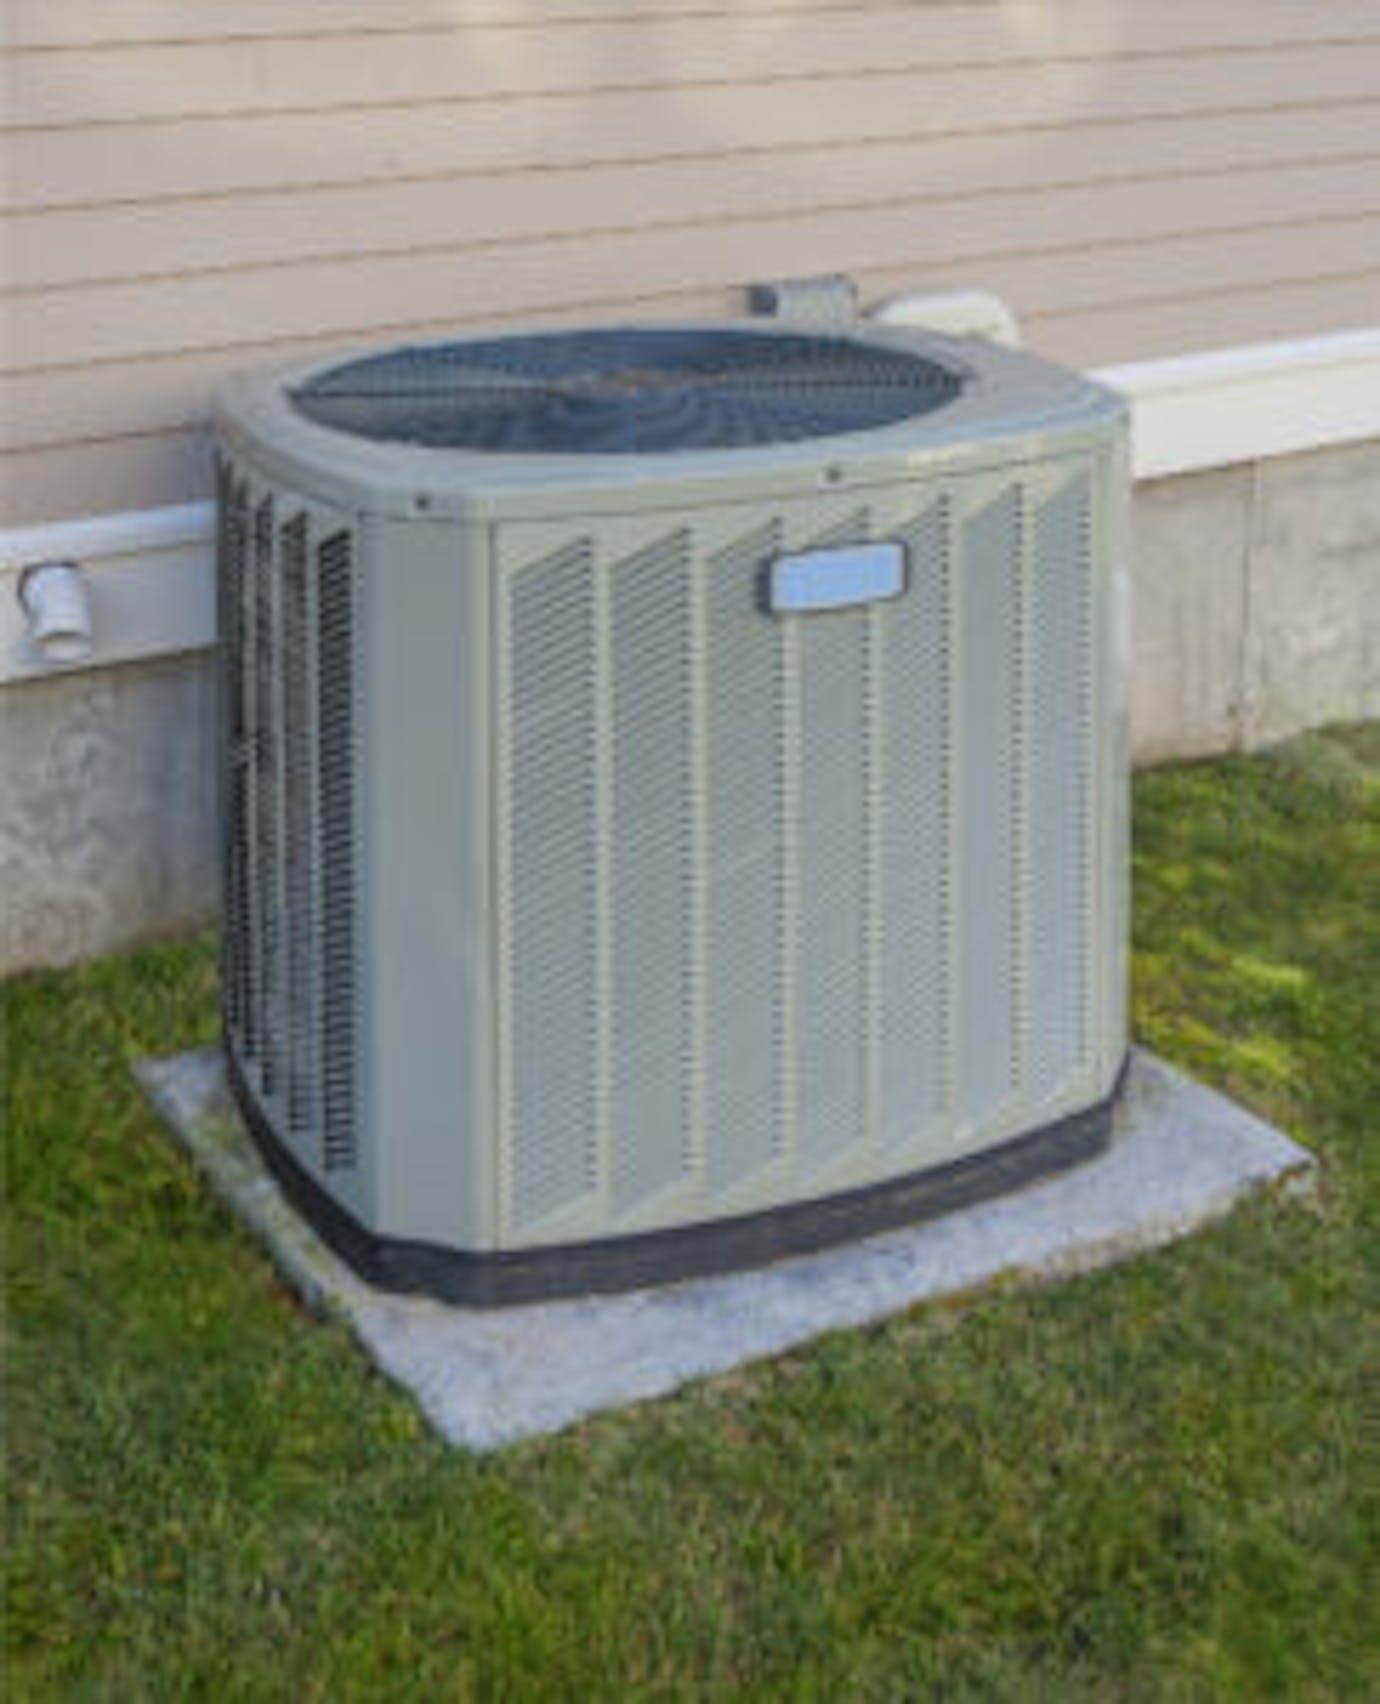
Spring is here and summer is right around the corner! When you’re spring cleaning, don’t forget to add cleaning your Air Conditioning System (Central Air) to your to do list. While inspecting sometimes I see this neglected.

Some quick tips for you “do it yourself”ers:

– Replace your filters

– Spray out your condenser coils and fins using a garden hose but be careful not to damage the fins. (Always disconnect your power first)

– If your fins are bent, you are able to purchase fin combs though a local distributor to straighten them out. Bent combs will affect the efficiency of your unit and can cause the unit to become unoperational.

– If you suspect Freon issues, contact an HVAC professional. It’s important to ensure no harmful gases are leaked into the atmosphere

– If you don’t have time or patience, call a professional HVAC technician


On The Fence. What You Need To Know Before You Wall In Your Property

On The Fence. What You Need To Know Before You Wall In Your Property


As spring starts to arrive in Calgary, homeowners might be looking ahead to the warmer months and the possibilities for home improvement or building something new on their property.

Many of the most popular projects involve fences, whether building new or breathing life into an old one. However, fence building can be fraught with frustrations: Who is responsible for fence construction between two properties? What are the costs? What should it be made of?

Here are some key considerations to think about before beginning any fence project, big or small.

Materials
Hardware stores like Home Depot and Rona sell fencing packages that are pre-configured and help reduce costs. Deciding which materials to use can be difficult, but the main options are cedar, wrought iron, vinyl and aluminum. Regardless of the material, fences need to be maintained over each season to extend their life.

“Treated cedar is usually the most cost effective and will last between 10 and 15 years if properly cared for,” said Ray Vodden, a sales specialist at Rona in Calgary.

“SIGHT LINES FOR VEHICLES AND PEDESTRIANS ARE A SAFETY CONCERN AND FENCES CANNOT INHIBIT THE VIEW.” – LEANNA MCMILLAN, CITY OF CALGARY MEDIA RELATIONS

Cost
Fencing costs will largely depending on the materials used in construction and the area being fenced in. For eight linear feet of standard brown treated cedar, which is one of the most common in Calgary, the cost would be $150 plus a gate package at $200. Multiplying this by the number of feet on your property should provide a fair approximation of total cost.

Choosing another building material might lower your costs, but the resulting fence could be less than ideal for cold weather. “With vinyl and aluminum … You have the problem with hot to cold, so it’s not designed to go between those temperatures,” said Vodden. “Aluminum will discolour over time as well.”

Permits and bylaw
There are several bylaw considerations that need to be respected when planning a new fence. According to the City of Calgary, fence heights should be two metres for the backyard, 1.5 metres in the front and gates should be no more than 2.5 metres. Posts must be dug four feet deep in order to avoid frost damage.

Calgarians can always call 311 with specific questions or to deal with any issues that appear.

Common issues
Disputes between neighbours over fences are a matter for civil courts and not under the purview of the City of Calgary. However, there are other issues where the City may be forced to intervene.

“One consideration that often surprises homeowners on corner lots is the corner visibility triangle,” said Leanna McMillan, a media relations contact with the City of Calgary. “Sight lines for vehicles and pedestrians are a safety concern and fences cannot inhibit the view.”


Credit of Article – CREB Now Stefan Stangman Published Apr 5,2019

What is Radon?

What is radon?

Radon is a radioactive gas that occurs when radium in soil and rock breaks down. It is an invisible, odourless and tasteless gas that can accumulate to unnaturally high and dangerous levels in our homes.

Radon gas in Canada

Western Canada contains some of the highest radon-generating soils on our planet. Although it arises naturally from our geology, radon gas is often drawn up inside modern buildings and concentrated to hazardous levels not seen in nature – thus, high radon exposure is a manmade problem. Canada contains many radon-generating regions, and Canadians have constructed towns and cities across almost all of them. This does not mean, however, that all of our buildings contain high radon. There are three factors needed to incur hazardous radon exposure:

  1. Geologic source and pathway (upwards) for radon into a property
  2. Building metrics that actively draw up and concentrate radon
  3. Human behaviour that enables higher exposure

Why is radon gas harmful?

Radon is radioactive and unstable. In a very short period of time it decays and emits alpha particle radiation, which severely damages our DNA in such a way that is almost impossible for our bodies to repair without introducing genetic errors (mutations). These errors trigger a worsening cycle of DNA mutation that drives cancer formation. Hence, radon is listed as a category 1 carcinogen (cancer causing agent), meaning that it is absolutely known to cause cancer in humans. As radon is inhaled into our lungs, it primarily triggers the formation of lung cancer – the number one cause of cancer death in Canada – even in folks who have never smoked. Younger people, especially children, are the most at risk from the DNA damage caused by radon exposure. The risk of cancer goes up with greater radon levels, and prolonged exposure over a life.

How is radon gas measured?

Radiation from radon is measured in a unit called the Becquerel (Bq) that represents one alpha particle being emitted per second. When measuring radon, the Bq is monitored per cubic meter of the air in your home (Bq/m3). A 16% increase in your relative risk of lung cancer is measurable per 100 Bq/m3 of chronic radon inhalation. In Canada, 200 Bq/m3 is considered maximum allowable by Health Canada, with advice being to strive for as low as reasonably achievable. We have observed some homes in Western Canada with radon as high as 10,000 Bq/m3, which is the equivalent of 60,000 dental x-ray equivalents of radiation each year according to the International Commission on Radiological Protection.

How do I test my home for radon gas?

Testing your home for radon is cheap, easy and effective. To figure out the amount of radon in your home, all you have to do is purchase a radon testing device through us. One of the most effective and simplest of tests is called an “alpha track” device, which, over a 90+ day period, will register the Bq/m3of the indoor air of your home. It requires no electricity and is about the same size as a small hockey puck. Place the device in the lowest level of your home that you or someone spends about 4+ hours a day. This could be your basement, or perhaps the main floor. Do not place the radon test in kitchens, bathrooms, near open windows or other areas with fans or strong air flow. Areas of the home that no-one spends time in (crawl spaces, furnace room, etc.) are also not ideal. Radon testing should only occur between the beginning of November to the end of April, as testing in spring, summer and early fall gives inaccurate readings. After your 90+ days are complete, you just ship your device to a lab using the provided shipping label, and within 2-3 weeks you should receive your confidential reading.

What happens if my home contains high levels of radon gas?

Radon can be easily prevented from entering into most properties. This is usually quick (1-2 days’ work) and, even for the most drastic (but effective) of interventions, it still only costs about the same as replacing a few windows. The important thing to recognize is that determining if your home has high radon will not devalue your property, as it is so easily solved. Homes that have been ‘mitigated’ for high radon tend to have the lowest achievable levels – and have amongst the healthiest of indoor air. In other parts of the world, a radon mitigation device is seen even as a selling feature. When considering a mitigation, always find someone with C-NRPP (Canadian National Radon Proficiency Program) certification. C-NRPP certification is approved of by Health Canada.

Should I have my home mitigated?

Any level above 100 Bq/m3 represents a statistically significant increase in the lifetime relative risk of lung cancer for those being exposed chronically to it. Indeed, the WHO deferred to the amount of radon where a statistically observable increasing in lifetime risk of lung cancer is clear and significant – this is 100 Bq/m3Health Canada set our “maximum exposure limit” reference level at twice this value, with the view that double where we start to see an increase in risk is truly unacceptable. To ensure that you are protected to where there is no significant increase in risk (as science and medicine understands radon), aim to get your home, school and work environment below 100 Bq/m3. It is important to remember that the 200 Bq/m3 level is set by Health Canada as a maximum acceptable reference level. Health Canada’s advice is to aim for as low as reasonably achievable. Your body cannot distinguish between 199, 200 and 201 Bq/m3 of radon, and being slightly under or over that number is meaningless to your long term health. Our advice if your home is at or near 200 Bq/m3 is to evaluate your relative risk and exposure by asking yourself the following questions:

  1. Are their babies, kids or teens in the home? If yes, consider mitigating, as young people are at a much higher risk from the negative impact of radon compared to those of older ages (65+).
  2. Does anyone work from home or spend most of their days at home? If yes, then consider mitigating, as those individuals are breathing the home’s air for a lot longer than a person leaving for large parts of the day for school or work.
  3. Does anyone in the home have a family history of cancer? If yes, consider mitigating, as some families carry altered genes that make them more susceptible to cancer following exposure to radiation.
  4. Is anyone in the home a current or former smoker? If yes, consider mitigating. The risk of lung cancer from radon is ‘synergistic’ with the risk from smoking. For example, ‘1 unit’ of risk from smoking plus ‘1 unit’ of risk from radon does not equal 2, rather it is a case of 1+1=17. Smokers (current or former) are much more at risk from radon, and so should protect themselves from radon even if still actively smoking to reduce their chances of cancer in the future.
  5. Is anyone in the home exposed to other lung cancer risk factors? If yes, consider mitigating. In addition to smoking (described above), folks who work with or who are exposed often to metal dust (metallurgists, jewelers, machinists, blacksmithery, etc.), leather dust, gasoline or diesel fumes (mechanics, firefighters, etc.), asbestos and heavy air pollution should also aim to reduce their exposure to radon as much as possible

How do I test my home?

STEP 1

Order

Order a radon test through the Evict Radon website. Every radon test bought assists in field research.

STEP 2

Register

Once you receive your device make sure you register it on our website: radonova.com/evictradon/with the supplied commission number and password.

STEP 3

Place

Test the air you are breathing on the lowest level of your home.

STEP 4

Wait

Leave the radon test device in place for 90+ days allowing the device to measure radon levels over time for an accurate reading.

STEP 5

Send

Log back into radonova.com/evictradon/ and enter the end date. Collect your radon test device and send it to the location specified on the test kit package.

STEP 6

Review

You will receive your results within a few weeks. Be sure to review them and ensure your home’s radon levels are safe.

What do I do once I receive my results?

The Canadian guideline established by Health Canada for the maximum exposure limit of radon in your home is 200 Bq/m3. A bit more information about why this is the maximum acceptable limit:

RADON LEVELS

0 Bq/m3

200 Bq/m3

Breathe Easy

Phew! Your radon test results are within the safe range for your home. You can now breathe easy knowing, in this house, you and your family are safe. Please note: Health Canada recommends retesting every few years, or if a major home renovation takes place. Encourage a neighbour or friend to test their home for radon.

Tell a neighbour/friend

Mitigation Recommended

Uh oh! Your radon test results are over the maximum exposure limit for Canada. At this level you, your family, and especially your children are at risk of future radon-induced lung cancer. Our team and Health Canada highly recommend that you have your home mitigated by a C-NRPP professional. Don’t worry, in Western Canada, radon mitigation techniques are very effective.

Find a mitigation professional


*This post is an excerpt from evictradon.ca

Flood Cleanup: Check for Accredited Tradespeople


Flood Cleanup: Check for Accredited Tradespeople

When crisis hits, we’ll take help from just about anywhere. But in the wake of the floods in recent years in and around our city, City of Calgary officials are urging Calgarians to take caution when hiring tradespeople to help rebuild homes. Several reports of many unaccredited tradespeople doing work on destroyed homes were submitted. Be sure what to look for, or more damage could be done.

  • Check references
    • Ensure the contractor has liability insurance
    • Ensure the contractor has Workers’ Compensation
    • Check if they have a warranty
    • Get everything written in a contract to protect yourself

Some other tips to protect yourself:

  • Don’t accept door-to-door deals from contractors
    • Check if they are RenoMark or BBB certified

The Biggest Renovation Mistakes That Homeowners Make

The Biggest Renovation Mistakes That Homeowners Make

Home renovations can seem like a confusion when you’re first getting started. There are plans to make, a budget to be drawn up and professionals to consult. When you’re ready to go with your new renos, here are some of the biggest mistakes that you’ll want to avoid.

  1. Not hiring professionals for certain projects

There may be certain things that need to be done in your home that require the expertise of a professional. For example, you won’t want to use a handyman to work on your electrical or plumbing systems. Most handymen don’t carry insurance and if anything should go wrong you’ll be liable for it. While plumbers and electricians are expensive and charge a high hourly rate, the reason why they can ask for these types of prices is they are highly trained and experienced. They also carry the necessary insurance and bonding that keeps you safe and protected.

  1. Failing to plan for unforeseen changes

When you’re making out your budget be prepared to have at least 20% extra put aside to handle any unforeseen changes or costs. This is especially important for larger projects, such as kitchen remodeling, where you may be tempted to upgrade to better materials. There can also be a lot of different snags that turn up during the renovation process that slow down the labour. Even though you were given an estimate for 50 hours of labour, for example, it may turn into much more if the contractor finds a problem such as water damaged drywall when he takes out your kitchen cupboards. When you have an extra 20% at your disposal, you’ll be able to make sure that the project is completed since you’ll have the funds to pay for any necessary changes that may occur.

  1. Not looking at the resale value

When you’re planning your renovations find out what projects will add the most value to your home. Kitchen and bathroom renos are always a good investment as is painting the home. What you’ll want to avoid is changing your home design drastically so that it no longer matches the appropriate neighborhood style. You can also do too many renovations and price your home too high when it is compared to the average price of homes in your community. This can make the property more challenging to sell since it will stick out from the others that are on the market at the same time in the area.

Your renovation project will start with a quote and you should be willing to get a full estimate from at least three contractors before making a final decision as to the one chosen. Make sure that you understand everything about the quote including whether or not materials are included in the price, whether you’ll have to pay for delivery of the materials and how you will be informed when the quoted price is revised.

Your First Step after Flooding – A Water-Damage Restoration Company

Your First Step after Flooding – A Water-Damage Restoration Company

With all those the flooding that has occurred recently in Calgary and surrounding areas,  there were  a lot of people that returned to damaged basements. Before calling in a basement renovator, you’ll need to make sure that your home is safe to live in. In most cases after severe flooding has occurred, you’ll need to call in a water damage restoration company in Calgary to get the area dried out as fast as possible.

These companies have high speed fans that can quickly dry out walls and furniture. They also have powerful vacuums that can pull out the majority of the water from your carpeting before fans are placed on it. Usually water damaged rugs and carpeting can be saved but the restoration company will let you know for sure whether they are salvageable once they arrive.

Most of these companies are open 24 hours a day and respond well in emergencies. Time can be your biggest enemy when it comes to flood damage since it doesn’t take long for mold and mildew to start breeding.

Some of the services offered by these water restoration crews include:

  • Water extraction
  • Carpet cleaning
  • Structural drying
  • Dehumidifying
  • Deodorizing and disinfecting

Some companies also provide complete reconstruction after the area has been dried out.

If you’re in need of a water damage restoration company and have to wait awhile for their arrival, you can get things started by opening the windows in your home to let the fresh air through. You should only set up your own fans in the basement if you are completely sure that it is safe to do so.

Renovations to a water damaged basement should never be started before the area has been completely dried out. If the damage looks bad, your best bet is to call in a restoration crew to get things dried out professionally so that you can move onto the next phase of renovations asap.


Is Your Home Energy-Ready for the Winter?

Is Your Home Energy-Ready for the Winter?

Although winter hasn’t arrived yet it’s just around the corner and now is the best time to inspect your home for energy efficiency. All it takes is one small crack to run up your heating bill and get the furnace running needlessly. It’s best to get the inspection done now before the cold weather sets in and some of it can be done on your own. This will give you time to do any of the repairs necessary before the snow starts to fly.

Do you have drafty windows?

If it’s in your budget you may want to think about replacing them with new energy efficient windows. If it’s not an expense you can afford right now you can either use weather-stripping for windows or purchase an insulation kit that will run you approximately $3 per window.

If you have any cracks around your windows you can use standard caulking and wall sockets can be treated with foam pads to keep out the drafts. The exterior cracks will require caulking that is rated for minus 40° weather.

You can use felt weather-stripping for doors along the top and the sides of them and you may also want to consider installing a door sweep on the inside of the door. You’ll also need to check to see if the threshold needs replacing.

Look for problems with air gaps indoors along the floors, ceiling, walls, doors, windows, light fixtures and wall sockets. On the outside of your home examine the foundation, pipes, faucets and outlets.

Calling in the professionals

For total home winter insulation you may want to call in a professional company to do an inspection on your HVAC, insulation on your ductwork and a fireplace/chimney inspection.

One tube of caulking can go a long way. It only costs about $10 for a tube and you have the potential to save about $100 or more per year in energy costs by sealing up all the cracks. It’s time to do an inspection and get those drafts handled before the cold winds blow and the thought of walking around your home’s exterior is completely uncomfortable.


Installing Drywall the Easy Way…

Installing Drywall the Easy Way…

Gypsum board, wallboard, plasterboard, sheetrock they all mean the same at end of the day – Drywall. Through out North America this product is very widely used in residential homes and it’s gaining more popularity throughout Europe as well.


The boards are made out of compressed gypsum sandwiched between layers of durable paper on both sides. Most commonly they are manufactured in thickness of half-inch, however some installation may require five-eights as a desired thickness. There are many other types of drywalls available on the market to withstand special environments such as bathrooms and other high moisture content circumstances.


An insider trick of the trade is to install the boards horizontally to minimize the amount of taped joints required. You can purchase drywall boards up to twelve feet in length, if possible try to purchase lengths that go from one end of the room to another. If your room exceeds twelve feet in width than of course you will have to add a vertical joint.


Shaping and cutting drywall is one of the easiest part of the job. All you need to do is use a straight edge and a sharp utility knife once you have taken your accurate measurements. Please note that these measurements don’t need to be very tightly butted together. If you try to be too précised than quite often you will end up cutting the same board 2-3 times as your measurement ends up being too tight. In my experience, a drywall taper can easily fill gaps up to three-eights of an inch. Start your cut on the face of the board by placing the straight edge along the measured line and just simply pull the knife along the straight edge 2-3 times making sure that you have completely cut through the paper. There is no need to cut in to the gypsum as it will be explained in the next step.


Slightly pick up the drywall or slide a piece of wood underneath the larger board if it’s a bigger piece and with a quick motion, snap the board along the cut line. After the drywall is snapped, bend it backwards and cut the paper on the back side of the board as well.


Typically you would want to use 1.25 inch drywall screws to hang the drywalls, some builders may prefer to use 1.5 inch screws on the ceiling for added support. From time to time, you may end up installing drywall over an existing drywalled wall, if that’s the wall you need to increase the length of the screws by the thickness of the existing drywall. No need dwell on this, but make sure that your screws are going into the studs every time.


More experienced drywall installers have special tools to assist them with their installation process. There are special electric drywall screwdrivers that have a special clutch built into them that will prevent you from over tightening the screws and penetrate into the boards deeper than it’s recommended. These gadgets also come with an option of holding dozens of preloaded screws to speed up the work. If it’s just a one time project that you are taking on, then probably there is no need for this kind of tool, a simple cordless drill may be just as effective.


It’s recommended to install the drywall screws every twelve inches on outside edges and perhaps every sixteen inches on the middle. Be sure to keep the boards about half an inch off the floor to prevent any moisture from getting to the board, this is especially important when installed over concrete floors.


When it comes to installing drywall on the ceiling, you might want to line up a few of your friends to give you a hand with those pieces as it could weight close to 70-80 pounds per sheet. I would recommend you nail together two pieces of two by fours to form a T shape. Once you have lifted the board into position, just wedge the T-bar underneath one end, and start fastening the drywall.


The taping and filling is the most critical part of the drywall process. Many people have attempted doing it themselves in the past. I am sure that with proper practice and persistence you can master this technique, but I would always pass this process onto a professional who will guarantee you a smooth finish.


Prior to painting any walls, be sure to apply a coat of primer on the surface for best finishing results. If you were to skip the primer process, you are running the risk of joints showing after painting.


Going Green in Your Home

Going Green in Your Home

Canadian builders going green, read the headline, and it got us thinking about the cost of not just building ‘green’, but of converting to green in our existing homes. Being able to list your house as a ‘green’ home must still be a novelty these days. One reason is that it can be expensive to switch to green, but there are reasonable contributions that the average family can easily make toward green living.

Of course, people go green for different reasons; for some of them it is just a common sense solution to allergies suffered in the family. But why do other people choose to put themselves through this hassle. It is not money, we know that much; going green usually costs more, not less.

Many people seem to object to the idea that their home contains more chemicals than homes used to. What is more, we are paying for that privilege! It is strange to think that Vinyl linoleum gives off toxic gasses, but it is a fact. True linoleum does not, although it can be more difficult to find. (It is often a fact that the newer replacement product also brought with it toxicity.)

When you decorate the home, if you want to think green, use paint that has either no, or low, VOC (Volatile Organic Compounds). Also if you plan on re-sealing sealing wood doors or floors etc, latex has no pollution factor to worry about.

If you decide to remodel, you will find many appliances on the market that will help you to go green. Most appliance companies now offer at least one green choice. Both washing machines and dish washers offer cycles which operate with less water. There are also toilets with the same feature, and all of these options will give you cheaper bills to pay, both on hydro and on water consumption.

If your remodeling or green choices are extending into your kitchen then when choosing a new stove or other kitchen appliance, look for the Energy Star rating. Many of these appliances are designed with a healthy environment in mind, and the stainless steel look of them will bring your kitchen up to the minute!

Switching into a green frame of mind can sometimes have a gradual escalation. Soon you may find yourself buying environment friendly soap powders and cleaners and then you can feel even more virtuous!